Making Fire Orange Joy-Con
 Just take me to the photos!
Just take me to the YouTube!
I’ve always loved the Funtastic Nintendo 64 consoles. The console of my childhood was gray, but that controller man… Atomic Purple was my jam.
Once I saw that you could get clear housings from Amazon and AliExpress, I was sold. And from having a hobby making and collecting props, I knew just how to color them.
Things you’ll need:
- Clear replacement Joy-Con housings
- iDye Poly with Color Intensifier in the color of your choosing (other dyes meant for polyester/plastic should also work. YMMV)
- A pot big enough to hold the Joy-Con housings in a small vat of dye
- A thermometer
- A pair of tongs to fish the Joy-Con out of the boiling dye vat
The basic principle to dyeing plastics (or most anything) is that you need a dye that can be absorbed into the plastic (RIT is my go to for dyeing most things, but it only really dyes natural fibers, so we need a dye meant for plastics/synthetic polymers. iDye Poly works great for this) and heat. For maximum dye absorption (and therefor brightness) you want to heat up the water/dye combo as hot as the plastic can take without it melting/warping. After a few minutes, you take them out and dunk them in cold water to “seal” in the dye. You can then repeat a few more time for max color.
Let’s do this.
The Joy-Con are made out of ABS, which has no true melting/softening point, but according to Wikipedia, it’s generally usable up to 178°F/80°C. So heat up your water near there (I used ~160°F/70°C)
EDIT: I was told by someone from the YouTubes that the cloudiness was from getting them too hot, so maybe try 150°F/65°C and see if that still works well
I experimented first with the middle plastic piece that holds the battery inside the Joy-Con. I wanted to make sure the dye would work and the temperature wasn’t too hot before making the plunge.
I suggest you do this as well, because I definitely had the water too hot. The piece warped pretty badly. Becaues of this I just used the gray part one from the original. The only downside I see from this is that the little piece of plastic in between the triggers and bumpers is still gray, but you can barely tell.
So here is what I did:
- heat up some water to 160°F/70°C (or 150°F/65°C as mentioned above)
- add in some dye (probably only some of it, i used about half for the whole pot) and color intensifier
- let it sit for ~5 minutes (agitate/stir it frequently)
- use tongs to pull the parts out of the dye and put it into cold water
- repeat dye baths until you reach the color you’re wanting
Done! That was simple!
Now just take apart a set of Joy-Con and replace the parts. I’d recommend looking on youtube for tutorials on how to take them apart. I do, however, have a few tips for replacing the housings:
- If you plan to use the original buttons, you may need to file the holes in the housing just a bit. 2 out of the 8 button holes on my housings were slightly too tight. I filed the inside of the holes down ever so slightly with a set of needle files and that solved all my issues.
- Don’t screw the outer screws all the way in. If you screw them down until they stop turning the triggers and +/- buttons might not click/work. If you run into this issue, try loosening them up a turn or two and see if that fixes your issues.
- If you’re having trouble reassembling the Joy-Con (specifically the right one), try assembling (reattaching all the ribbon cables) all of the electronics outside of the housing, then dropping it in and screwing them in while they’re all attached to each other. I had to do this to get them re-assembled.
P.S. I also make a YouTube video documenting this experiment
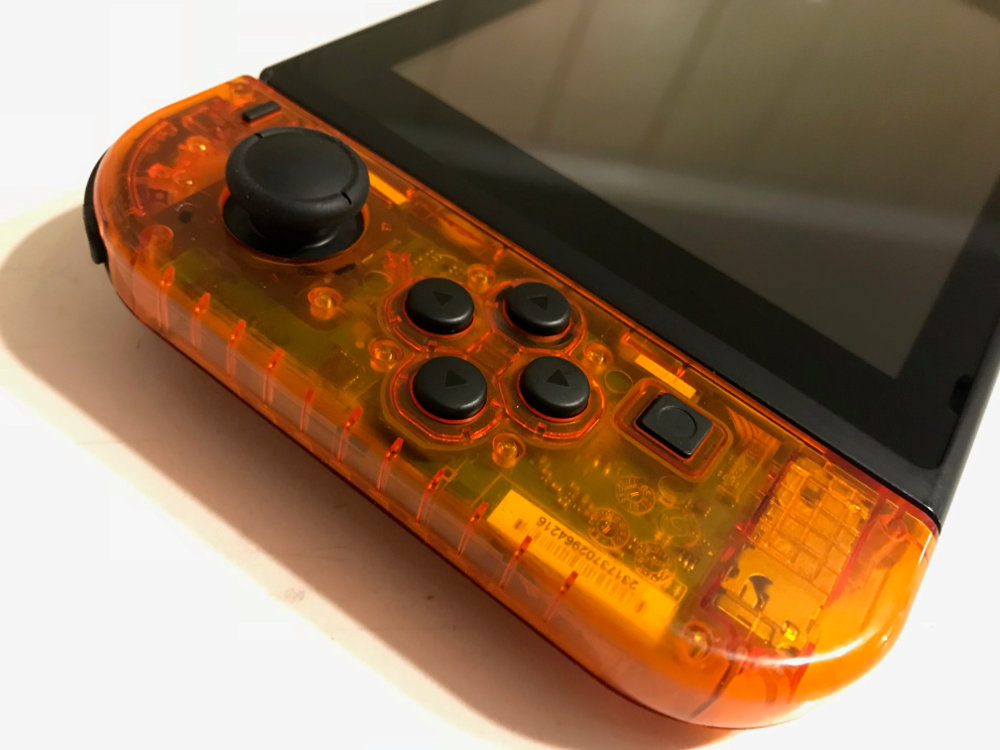
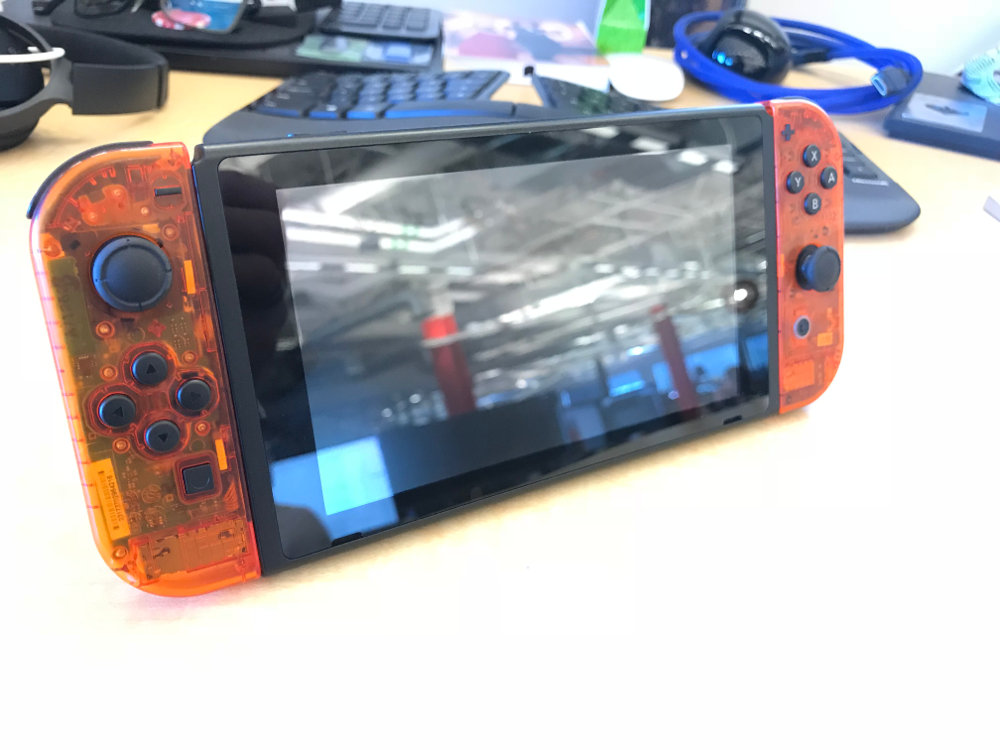
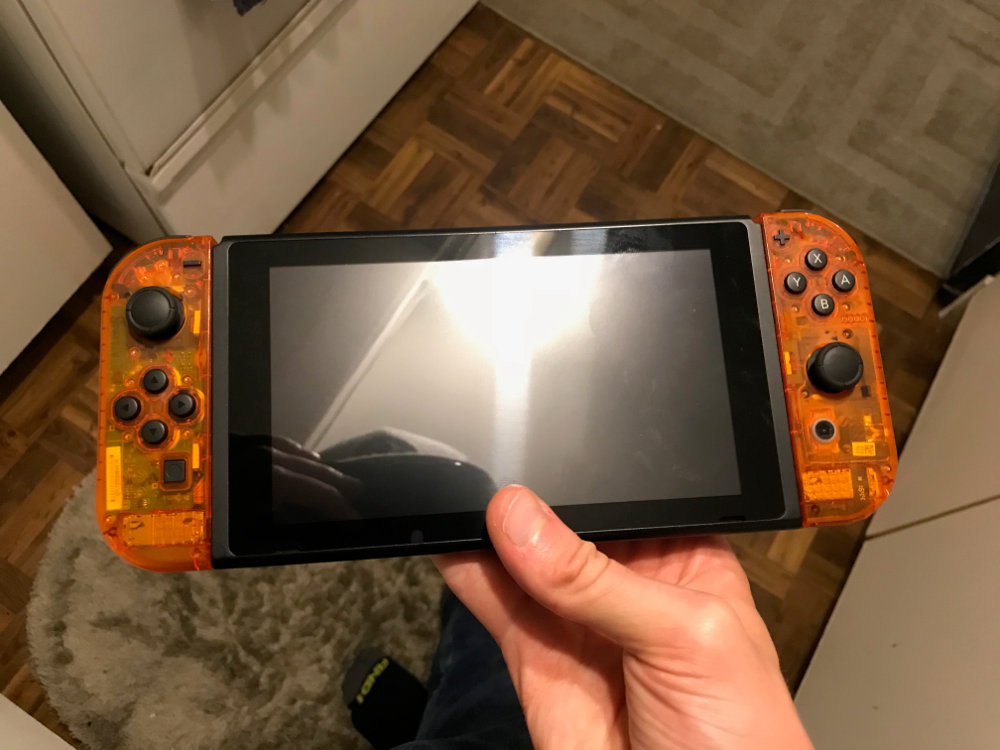
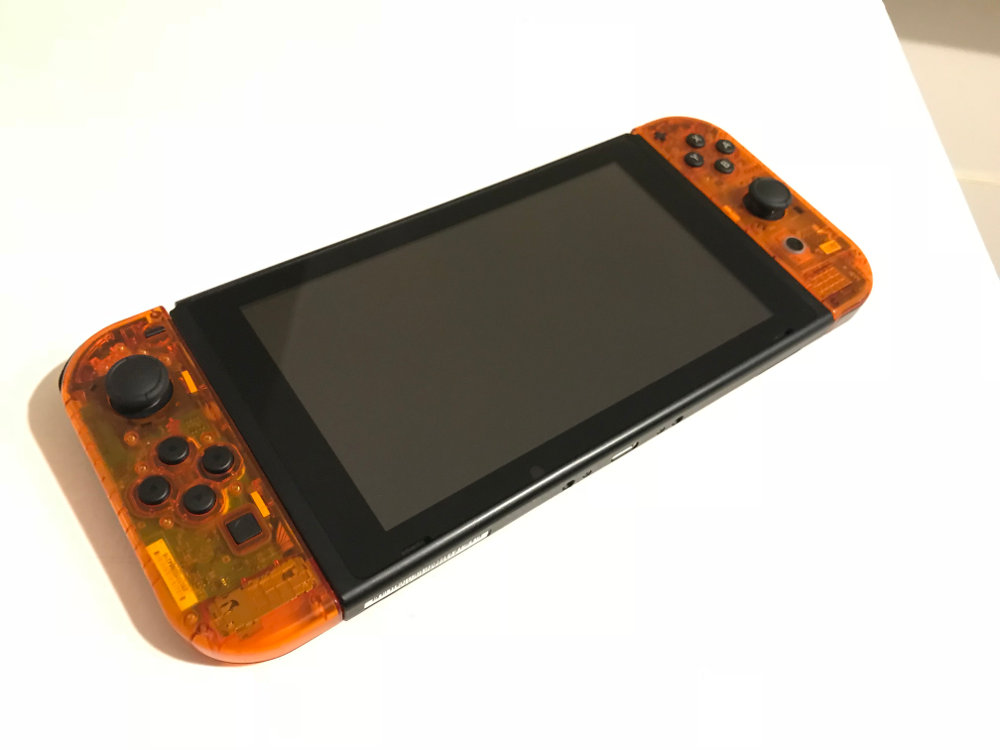
Photos
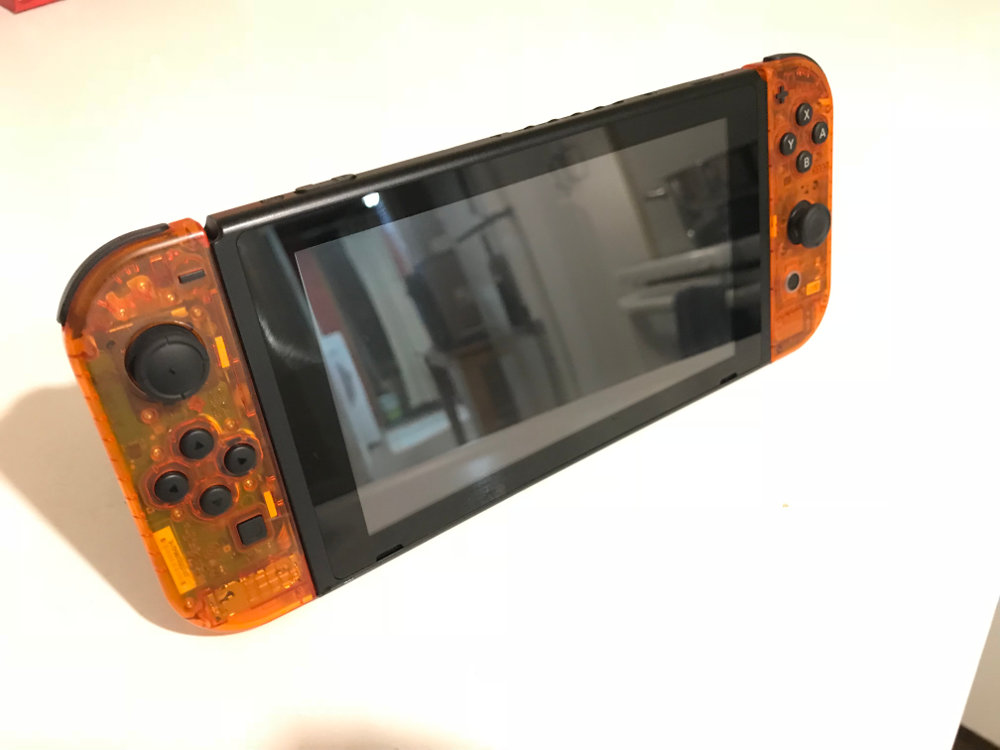
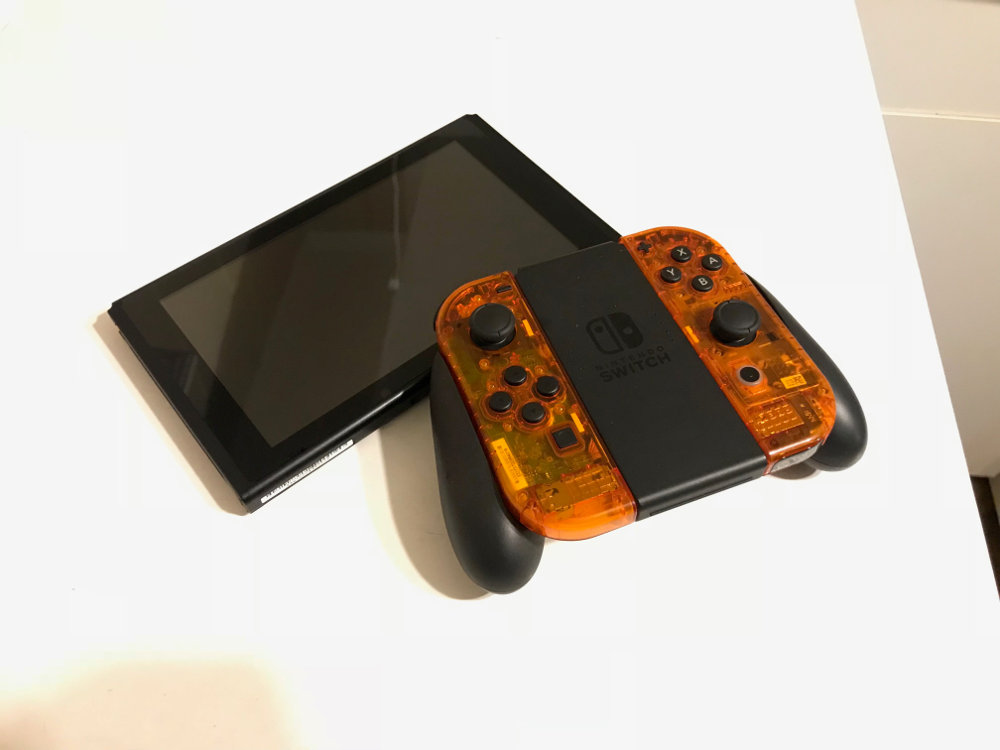
P.P.S. After all this effort and making/eding this tutorial and video, you can now purchase transparent colored Joy-Con from Amazon instead of clear ones. Most of them definitely look pretty good (with the possible exception for being too clear) compared to the true n64 colors. Fortunately, the Fire Orange seems particularly inaccurate ;)
As of my writing this, you can’t buy only the Joy-Con housings from them (you have to buy the back panel too), but hopefully that’ll change soon. If you like the look of the color you want I’d say it’s probably better to buy them instead of dyeing in most cases.
Still though, dyeing works great for that time when you can’t find the perfect color of housing, or just want to experiment and have fun.
Post by: Cameron Holiman